Browsing Category

SEWING

Make your own down booties on a budget for cold feet.

Down Booties at the beach

There is nothing worse than after a long backpacking day get into a sleeping bag and wake up in the middle of the night with cold feet. That happens to me constantly when we go backpacking not in summer season. I have tried everything: wearing multiple dry socks, wearing grandma’s knitted woolen socks alone and with other socks, but I would still wake up with cold toes. And if feet are cold the whole body will get cold too and is impossible to go back to sleep. So I started thinking about other ways how to get rid of cold feet  in my sleeping bag? A new warmer sleeping bag cost too much and I am fine with the one I have. To buy down booties cost $50-100 and I didn’t want to spend that much money either. Since I know how to sew I decided to use my skills to make my own down booties/slippers. It was a long process as I was looking not only that booties would keep me warm but also that it would look good. I found couple patterns people used before in different backpacking forums but something was not working for me when I tried to make it myself. So I created my own pattern and decided to share it with you.

STEP 1.  Get your supplies

  • 1 yard of rip stop nylon. ( I got mine from http://zpacks.com/ I chose 2 yards of Ventum Ripstop Nylon but 1 yard is enough if you are not planning on making more things).
  • Some high quality down, I would suggest to go to your local thrift shop and get a puffy jacket and use the down from it.
  • Some paper to make your own pattern, pen & measurement tape   
  • Sewing machine and nylon thread.

STEP 2. Make the pattern.

  • First, trace your feet on the paper it will be your down booty sole. Add ⅝ of an inch ( or 1,5 cm) on a side it will be your sewing allowance, cut the pattern.
  • Take a measurement tape and measure from your longest toe to the ankle the part that bends and subtract an inch.
  • Measure from the middle of the toes following the measuring tape around the feet to the heel. Add ⅝ of an inch ( or 1.5 cm) for seam allowance.
  • Use the sole pattern to guide you how wide the hole for your ankle should be.
  • Make a rectangle, the length of it should be the circumference of your boot part and the width its up to you how long you want the sock to be ( mine was 4 inches or 10 cm). Multiply width by 2 and draw your rectangle that now is 8 inches ( 20 cm ) width and the length stays the same.

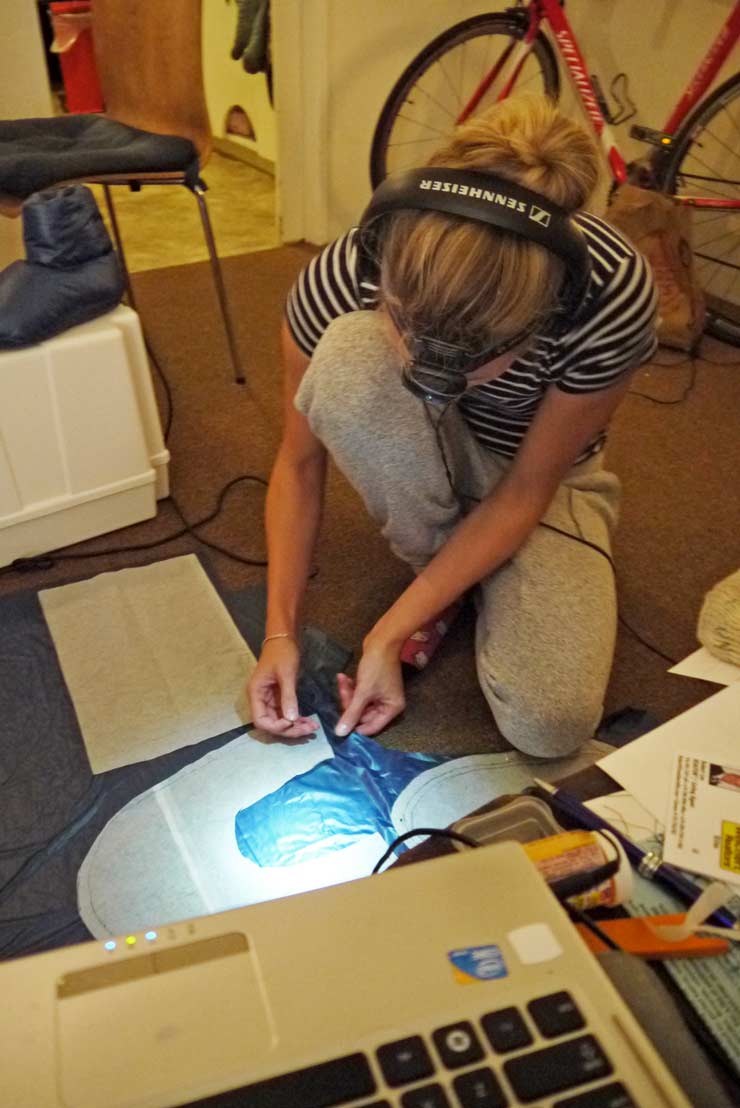
STEP 3. Make the down booties/socks.

  • Cut the rest 2 pieces of the pattern.
  • Place all 3 pattern pieces on the fabric and pin them to the fabric ( Make sure to fold your fabric in half before).
  • Cut your pieces.
  • Repeat steps above for the second bootie.
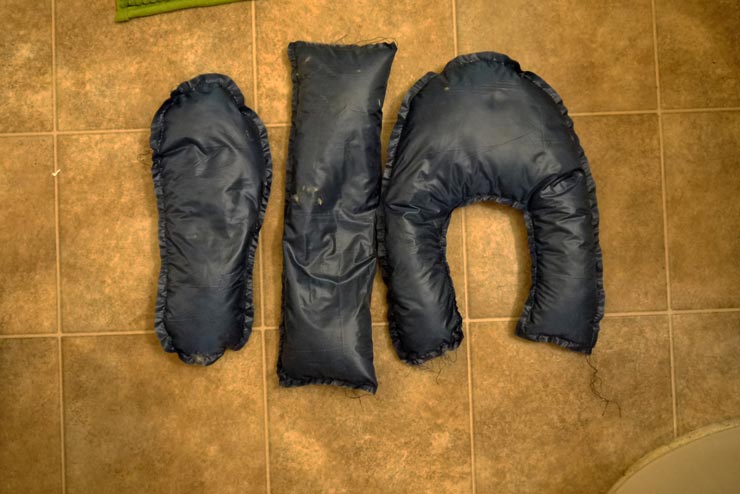
  • Now you should have 4 pieces of sole, 4 pieces of boot part and 2 pieces of sock piece.
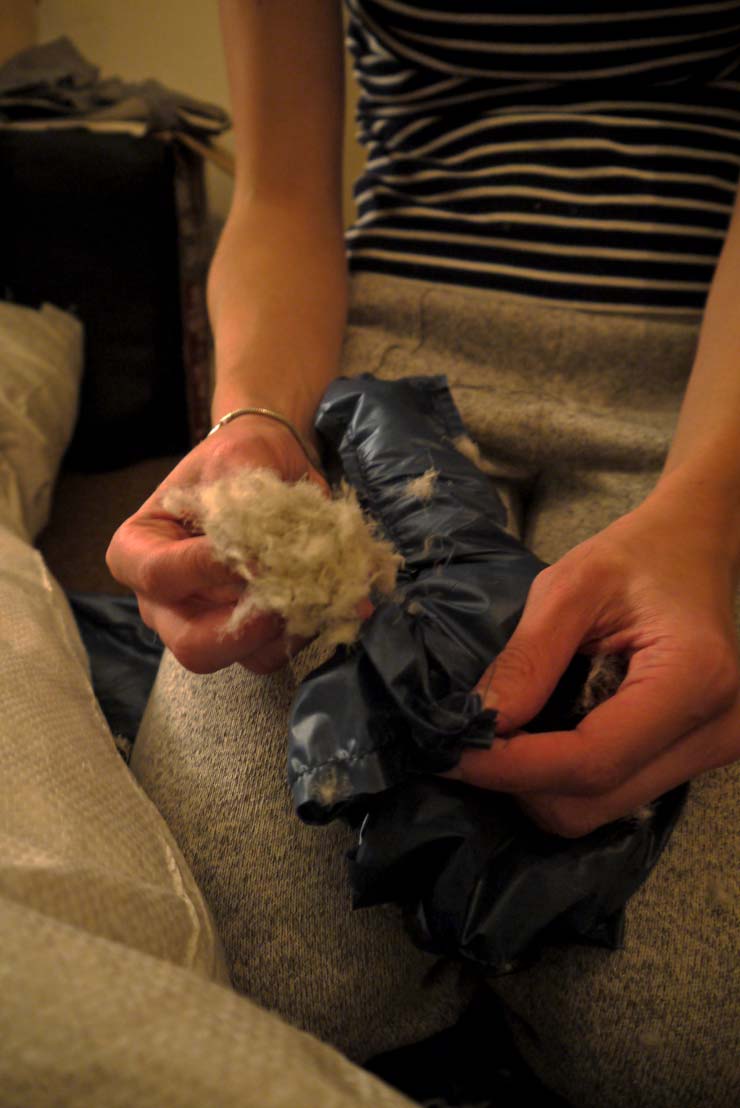
  • Take 2 sole pieces and sew together by leaving a small opening for stuffing the down inside. Repeat the step with the rest of the pattern pieces except the sock part. Fold sock part in half and sew it.
  • Stuff the down through the openings.
  • Hand sew shut the openings.
  • Sew all 3 pieces together.

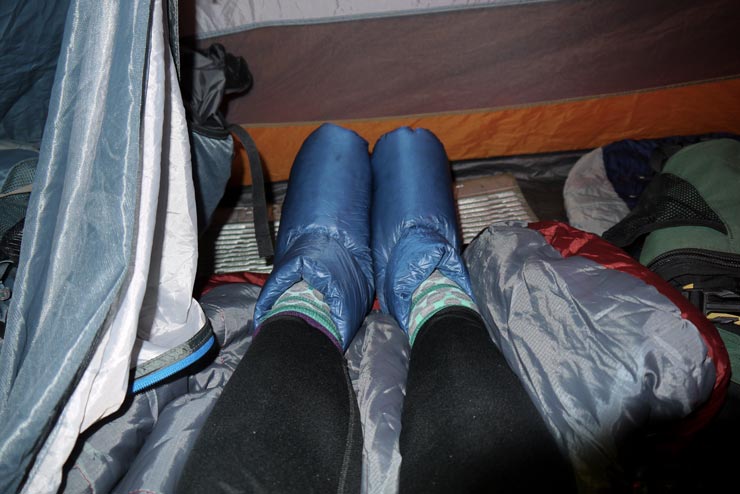
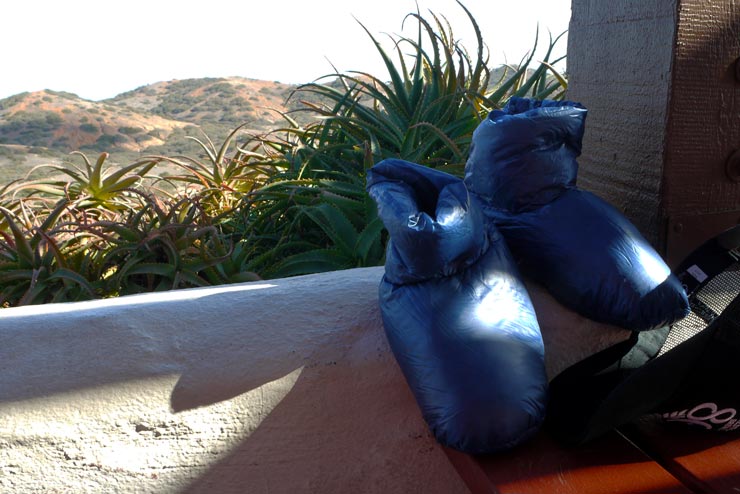
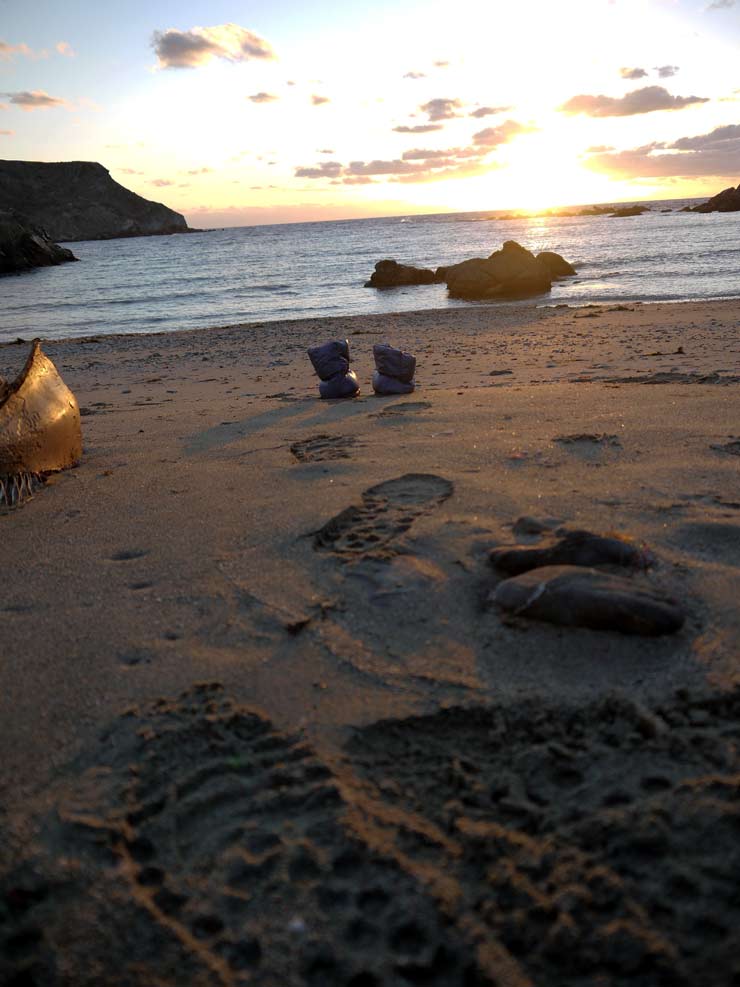
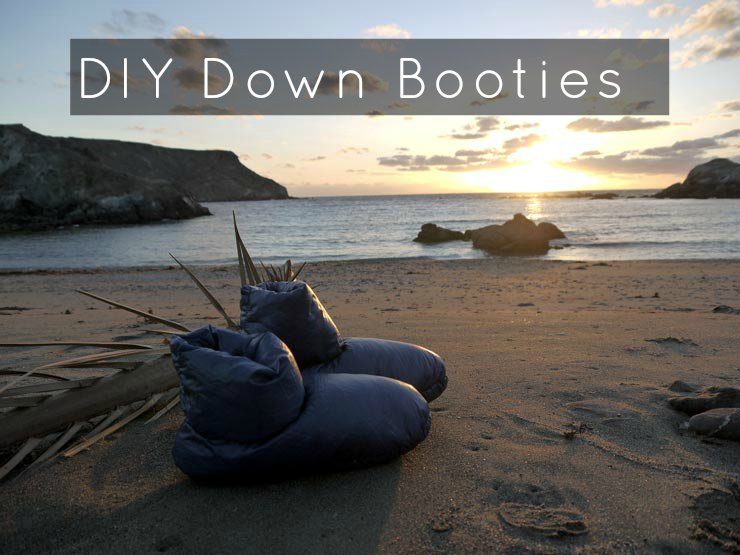
And here you go, you just made yourself down booties/ slippers. Wear them while you sleep on your next backpacking/camping trip and don’t get cold feet anymore. And for all of you who are obsessed with ultralight backpacking these down booties don’t take space and are super light! So don’t wait grab your grandma’s sewing machine and do it yourself! On your next backpacking trip your cold feet will thank you!

Pattern of down booties Placing down booties pattern pieces on the fabric 3 down booties pattern pieces on the fabric Pinning down booties pattern pieces to the fabric Filling down booties with down Three down booties pieces filled with down Do it yourself down booties Wearing down booties in sleeping bag Down booties Down booties on backpacking trip

Life accomplishment: I sewed a jacket with lining B6169

Sewed a motto style jacket Butterick pattern B6169 motto style jacket

Mostly I write about my adventures in hiking and traveling, but I like doing crafty things too and it is adventurous in its own unique way. So finally I embraced myself and I did it! I sewed my first piece of clothing – jacket by Butterick B6169 pattern.  Last year I received the sewing machine for Christmas and  I was all about making my own clothes. Being a tall girl sometimes can be challenging in finding clothes that actually properly fits the body. I took a class “Sew like a professional” in San Diego Continuing Education. I decided to go to the advanced class just because I wanted to make something really cool and I had some previous experience in sewing. I can’t believe how much I didn’t know and probably taking beginners class would be a better idea. But oh well I studied at home a lot all the techniques and other stuff about sewing and spent hours working on my jacket so that I could finish it before the class ends. I am very pleased with the final result.

I sewed a moto-style jacket from Butterick B6169 I did all the adjustments on a pattern paper and as well as made a muslin. It was a requirement in the class and I am glad that I did it. Now I know that for a bigger project like this tissue fitting on a pattern is not enough. I followed Lisette blog for step by step pictures how to make the jacket.  And of course the most help I received from my teacher and more advanced classmates. I really happy how it turned as a first project. Now I am stepping down and taking a class “Sewing fundamentals II” to learn all the things that I am missing still and the final project will be a button up shirt. Stay tuned!


***

Dažniausiai rašau apie įvairius nuotykius, žygius ir keliones, bet aš taip pat mėgstu užsiimti visokiausiais rankdarbiais ir tai sakyčiau savotiškas nuotykis tap pat. Tad pagaliau pasirįžau vienam dideliui siuvimo nuotykiui – moto stiliaus švarkeliui su pamušalu. Naudojau Butterick  B6169 iškarpas. Kaip tik anais metais kalėdoms dovanų gavau siuvimo mašiną ir labai niežėjo pirštus ką nors ypatingą ir grandiozinį pasiūti. Kita priežastis išmokti siūti tas nelemtas aukštas ūgis (o kaip susirimavo galėčiau kaip Maironis eilarščius kurti apie gyvenimiškas problemas būnant aukštai). Tad susiradau siuvimo kursus čia San Diege ir su visa mašina, siūlais, adatom ir kitais kakinimo įrankiais skūbėjau po darbo kartą per savaitę kelis menesius. Kaip tyčia pasirinkau pažengusiems skirtus kursus manydama, kad na kaip nors aš išsikapanosiu. Na ir aišku buvo baltos varnos momentų, bet daug laiko skyriau namų darbamas skaitydama įvairią literatūrą ir žiūrėdama Youtube.

Siuvau moto stiliaus švarkelį iš Butterick B6169 iškarpų. Pradžioje visus taisymus atlikau iškarpose, o vėliau jau iš pataisytų iškarpų siuvome “muslin” tai lyg ir juodraštis prieš perkeliant viską ant pasirinktos medžagos. Dažniausiai “juodrštis” siuvamas iš paprastos medvilninės medžagos ir tada daromi paskutiniai primatavai, pataisymai ir tada viskas perkeliama į tikrąją medžiagą ir siuvama. Naudojausi pateiktomis iškarpų instrukcijomis taip pat suradau blogą, kuris buvo pateikęs detalius žingsnius su nuotraukomis kaip siūti. Pabaigusi šiuos kursus pradėjau naujus “Siūvimo pagrindai II tikiuosi dar labiau papildyti žinių bagažą. Šių kursų projektas – marškiniai. Tad kai jau baigsiu tai jau pasimaivysiu ir pasirodysiu čia.

Sewing jacket with lining Butterick B6169 Moto Lined Jacket B6169 Moto Jacket sewed Butterick B6169 Sew A Jacket B6169 S